How deployments work
Master Deployra's deployment system with automatic CI/CD pipelines, manual deployment controls, and zero-downtime strategies. Learn GitHub integration, deployment management, and best practices.
Deployment overview
Deployra provides a complete CI/CD solution with automatic deployments, manual controls, and zero-downtime strategies to keep your applications running smoothly.
- Automatic CI/CD — push to GitHub and deploy automatically.
- Manual control — deploy on-demand via dashboard or API.
- Zero downtime — rolling updates with health checks.
Deployra can automatically deploy your application each time you merge a change to your codebase. You can also trigger manual deploys, both programmatically and in the Deployra Dashboard. All service types redeploy with zero downtime, ensuring your applications remain available throughout the process.
Automatic deploys
As part of creating a service on Deployra, you link a branch of your GitHub repo (such as main or production). Whenever you push or merge a change to that branch, by default Deployra automatically rebuilds and redeploys your service.
- Branch-based deploys. Any code changes to your linked branch will trigger a new deployment automatically.
- Immediate detection. Deployra immediately detects when new commits are pushed to your repository.
- Automated process. The entire deployment process runs automatically without requiring manual intervention.

GitHub integration: Deployra integrates directly with GitHub to monitor your branch for changes. This enables a true CI/CD workflow where code changes automatically flow through to your deployed services.
Disabling auto-deploys
If you always want to trigger deploys manually, you can disable auto-deploys in the Deployra Dashboard:
- Go to your service's Settings page. Navigate to your service dashboard and click the Settings tab.
- Set Auto-Deploy to No.
- Click Save. Your changes will take effect immediately.

Manual deploys
From your service's page in the Deployra Dashboard, you can manually trigger a deployment whenever needed. This is useful for deploying specific versions or when you have auto-deploys disabled.
Dashboard manual deploy
To trigger a manual deploy from the dashboard:
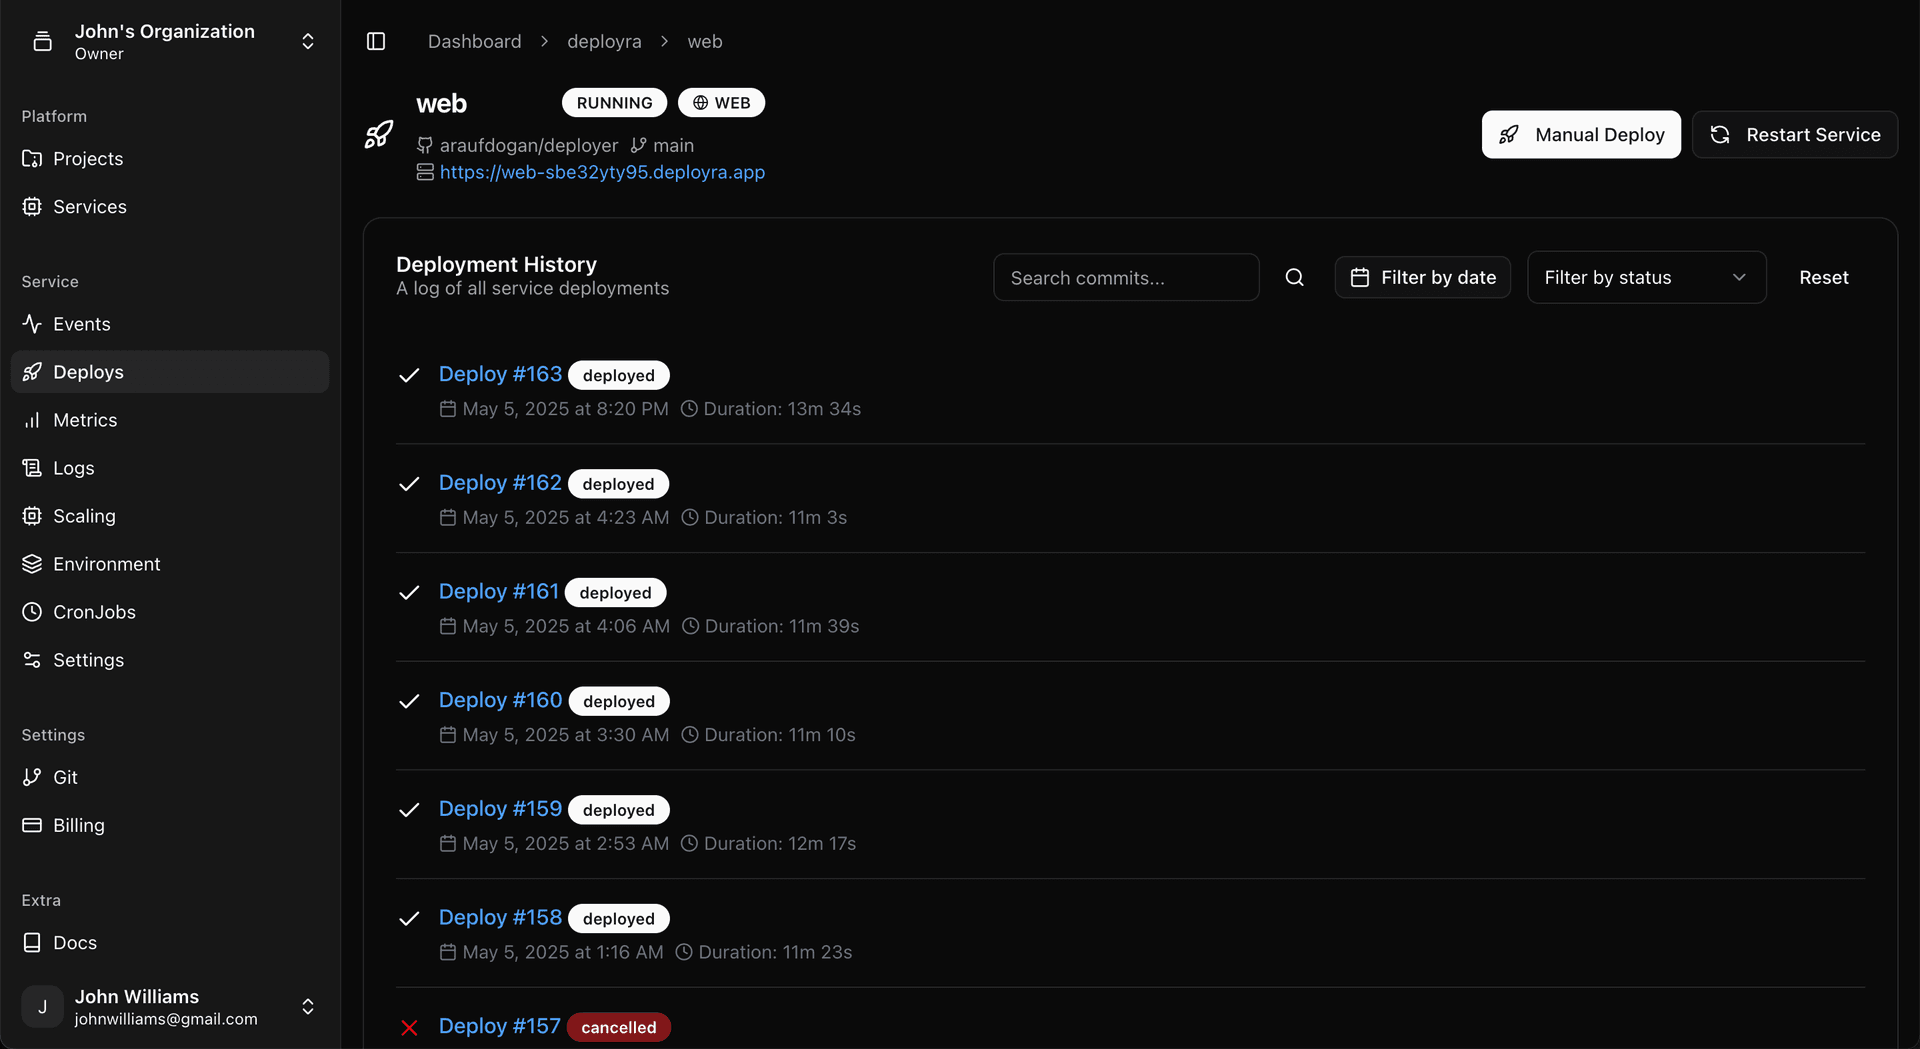
- Navigate to your service's overview page.
- Click the "Manual Deploy" button in the header.
- Confirm the deployment.
Managing deploys
Canceling a deploy
You can cancel an in-progress deploy in the Deployra Dashboard:
- Go to your service's Events page. Click the word Deploy in the corresponding event entry.
- Click Cancel deploy. The deployment process will be stopped immediately.
Restarting a service
If your service is misbehaving, you can perform a restart from the service's page in the Deployra Dashboard. Click the Restart service button.

Zero-downtime deploys
Whenever you deploy a new version of your service, Deployra performs a sequence of steps to make sure the service stays up and available throughout the deploy process—even if the deploy fails.
This zero-downtime deploy sequence applies to web services and private services, ensuring your applications remain accessible to users at all times.
Deployment best practices
- Health checks. Implement proper health check endpoints in your application to ensure Deployra can verify your service is ready before routing traffic to new instances.
- Database migrations. Run database migrations as part of your build process or use backward-compatible changes to ensure smooth deployments without breaking existing instances.
- Branch strategy. Use feature branches and pull requests for code review, then merge to your main branch for automatic deployment to maintain code quality and stability.
- Rollback strategy. Keep your deployments small and frequent to minimize risk. If issues arise, you can quickly revert to a previous version or deploy a hotfix.
Frequently asked questions
How long do deployments typically take?
Deployment time varies based on your application size and complexity. Most deployments complete within 2-5 minutes, including build time, health checks, and traffic routing. Larger applications or those with extensive dependencies may take longer.
What happens if a deployment fails?
If a deployment fails during the build or health check phase, Deployra automatically keeps your existing instances running. No traffic is routed to failed deployments, ensuring your service remains available. You'll receive notifications about the failure with detailed logs for debugging.
Can I rollback a deployment?
Yes! You can rollback by deploying a previous version of your code. Revert your changes in Git and push, or manually deploy a specific commit hash. Deployra maintains deployment history for easy reference and rollback operations.
How does zero-downtime deployment work?
Deployra uses a rolling deployment strategy. New instances are created with your updated code, health-checked, and gradually receive traffic. Old instances are terminated only after new ones are healthy and serving requests, ensuring continuous availability.
Can I deploy specific branches or commits?
Yes! While auto-deploy works with your configured branch, you can manually deploy any branch or specific commit hash through the dashboard. This is useful for testing features, hotfixes, or deploying specific versions.
How do I monitor deployment progress?
The Deployra dashboard provides real-time deployment logs and status updates. You can watch the build process, health checks, and traffic routing in the Events timeline. Email notifications keep you informed of deployment success or failure.